Garden Shed 7 Best Setup Tips For A Smart Workspace
Did you know that an optimized, well-organized garden shed can save the average horticulturist over 40 hours a year that would otherwise be spent searching for lost tools and untangling extension cords? For many homeowners, a shed is just a dark, dusty box at the back of the yard used to hide a rusty lawnmower. However, integrating modern construction techniques with advanced smart gardening technology transforms a basic garden shed into a highly efficient, climate-controlled command center for your entire property. Whether you are potting seedlings in early spring or charging your robotic mower, building and upgrading your outdoor workspace is a game-changer.
Quick Answer:
A garden shed is a dedicated outdoor structure used for storing horticultural tools, potting plants, and housing yard maintenance equipment. To build a modern, tech-enabled shed, you must construct a level foundation, ensure proper ventilation, and integrate smart features like solar power banks and Wi-Fi-enabled security to protect your valuable gear.
Materials and Supplies List
Constructing or upgrading a functional outdoor workspace requires durable, weather-resistant materials. To build a smart structure that will last for decades, gather the following essential supplies:
- Foundation Materials: Concrete paving slabs, crushed gravel, or treated timber skids for a ground-contact base.
- Framing and Siding: Pressure-treated 2×4 lumber for the structural frame and weather-resistant siding (such as LP SmartSide, cedar shingles, or galvanized steel panels).
- Roofing Supplies: Asphalt shingles, corrugated metal roofing panels, roofing felt, and galvanized drip edges.
- Weatherproofing: High-quality exterior caulking, wood sealant or exterior-grade paint, and weatherstripping for doors and windows.
- Smart Tech Components: A solar panel kit (100W to 200W) with a charge controller, a weatherproof Wi-Fi extender, a smart padlock or biometric door handle, and smart LED strip lighting.
- Eco-Friendly Substitutions: Consider using reclaimed barn wood for the siding or installing a living “green roof” utilizing waterproof EPDM rubber membranes and sedum plant trays.
Tools and Equipment Required
Whether you are assembling a prefabricated kit or building from scratch, having the right tools on hand will ensure your structure is safe, level, and secure:
- Power Tools: A cordless impact driver and drill, a circular saw or miter saw for cutting lumber, and an orbital sander.
- Measurement and Leveling: A 25-foot tape measure, a framing square, a chalk line, and a 4-foot spirit level (crucial for laying the foundation).
- Hand Tools: A heavy-duty framing hammer, a utility knife, a pry bar, and a set of chisels.
- Safety Gear: Safety goggles, heavy leather work gloves, and ear protection.
- Tech Installation Gear: Wire strippers, outdoor-rated electrical tape, and cable management clips for routing solar and lighting wires.
Project Time & Growth Timeline
Building and optimizing your outdoor workspace is a substantial project, but the long-term utility is unmatched.
- Active Setup Time: 2 to 4 days. Preparing the foundation and framing typically takes a full weekend for two people. Adding roofing, paint, and smart tech integration requires another 1 to 2 days.
- Ongoing Maintenance Time: Integrating smart tech reduces manual maintenance significantly. Expect to spend just 10 minutes a month checking solar battery health via your smartphone app and organizing your tool racks.
- Expected Lifespan and Utility: A properly built and sealed structure can last 20 to 30 years. Using a smart climate monitor inside the space reduces the chance of rust on your expensive tools by 50%, saving you hundreds of dollars in equipment replacement over the building’s lifespan.
Step-by-Step Guide
1. Prepare and Level the Site
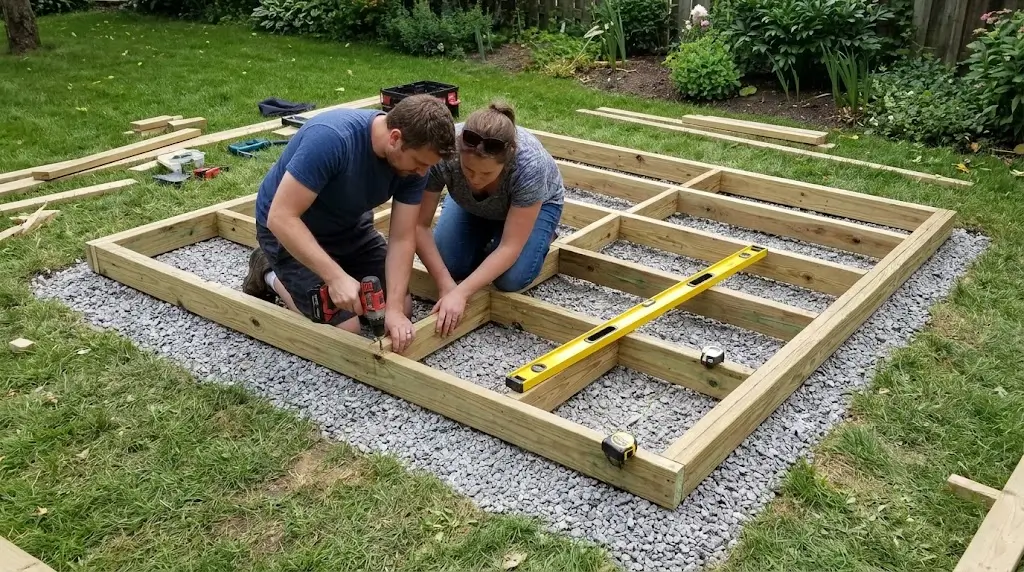
Clear your chosen location of all grass, roots, and soft topsoil. Dig down about 4 inches and fill the area with compacted crushed gravel. Use your 4-foot level to ensure the gravel pad is completely flat. A perfectly level base is the single most important step; if the base is crooked, the doors will not close properly, and the roof may leak.
2. Construct the Foundation and Floor
Lay out your pressure-treated 2×4 floor joists, spacing them 16 inches apart on center. Secure them together with exterior deck screws. Once the joist frame is built, cover it with 3/4-inch exterior-grade plywood. Secure the plywood tightly to prevent a squeaky or bouncy floor.
3. Frame the Walls and Roof
Build your four walls flat on the newly constructed floor. Include rough openings for any windows and the main door. Raise the walls one by one, temporarily bracing them with scrap wood, and screw them together at the corners. Next, cut and install your roof trusses or rafters, ensuring they have an overhang of at least 6 inches to protect the siding from rain.
4. Apply Siding, Roofing, and Paint
Nail your chosen siding to the exterior studs. On the roof, lay down your roofing felt followed by asphalt shingles or metal panels, working from the bottom edge up to the peak. Once the structure is sealed, apply two coats of high-quality exterior paint or weatherproofing stain to protect the wood from UV damage and moisture.
5. Install the Smart Tech and Power
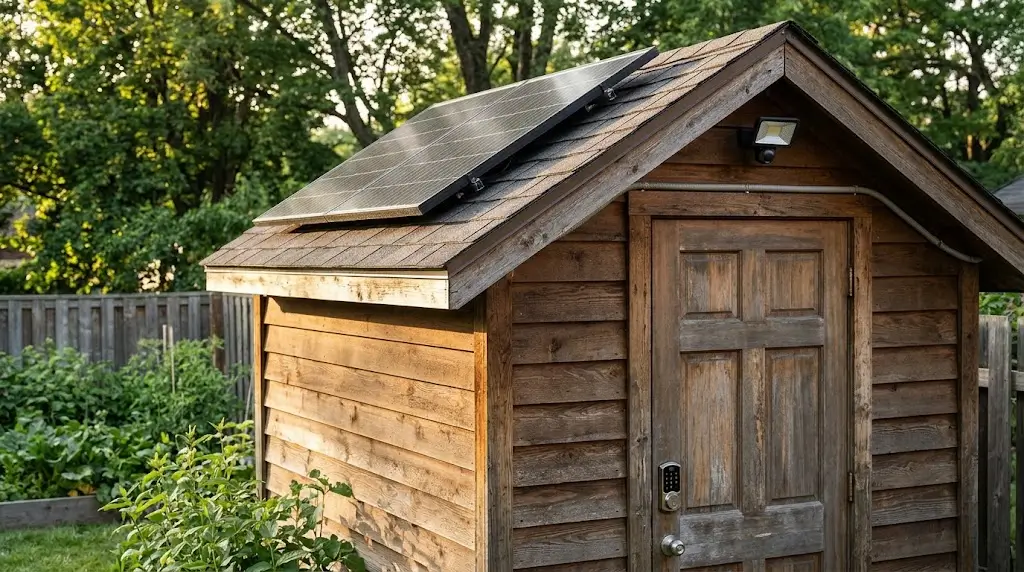
Mount your solar panel on the South-facing side of the roof for maximum sunlight exposure. Run the wiring inside to a charge controller and a deep-cycle marine battery. Connect your smart LED lighting and a Wi-Fi hub to this power source. Finally, install a heavy-duty smart lock on the door that you can control via Bluetooth or your home network.
Plant Requirements & Technical Specs
While a building does not need water like a plant, its placement and technical setup require specific environmental conditions to function properly:
- Sunlight (For Tech): If utilizing solar panels, the roof must receive a minimum of 5 to 6 hours of direct, unobstructed sunlight per day. Avoid placing the structure directly beneath heavy tree canopies.
- Drainage Needs: The ground around the structure must slope away from the base at a drop of at least 1 inch per foot to prevent water from pooling and rotting the floor joists.
- Ventilation: Proper airflow is critical to prevent mold, mildew, and tool rust. Install gable vents near the roofline to allow hot air to escape in the summer.
- Device Connectivity Requirements: To utilize smart locks, Wi-Fi cameras, and climate sensors, the structure must be within 100 to 150 feet of your home router. If the signal is weak, install an outdoor-rated mesh Wi-Fi node on the exterior of your house pointing toward the yard.
Alternative Methods & Eco-Friendly Options
If a traditional wooden build is not feasible for your space or budget, consider these sustainable and alternative approaches:
- Prefabricated Resin Sheds: High-density polyethylene (HDPE) structures are lightweight, immune to rot and termites, and can be assembled in an afternoon. They are perfect for humid climates where wood degrades quickly.
- Upcycled and Reclaimed Builds: Build your workspace entirely out of recycled pallets, salvaged barn wood, or old house windows. This rustic approach keeps materials out of landfills and gives your yard unique character.
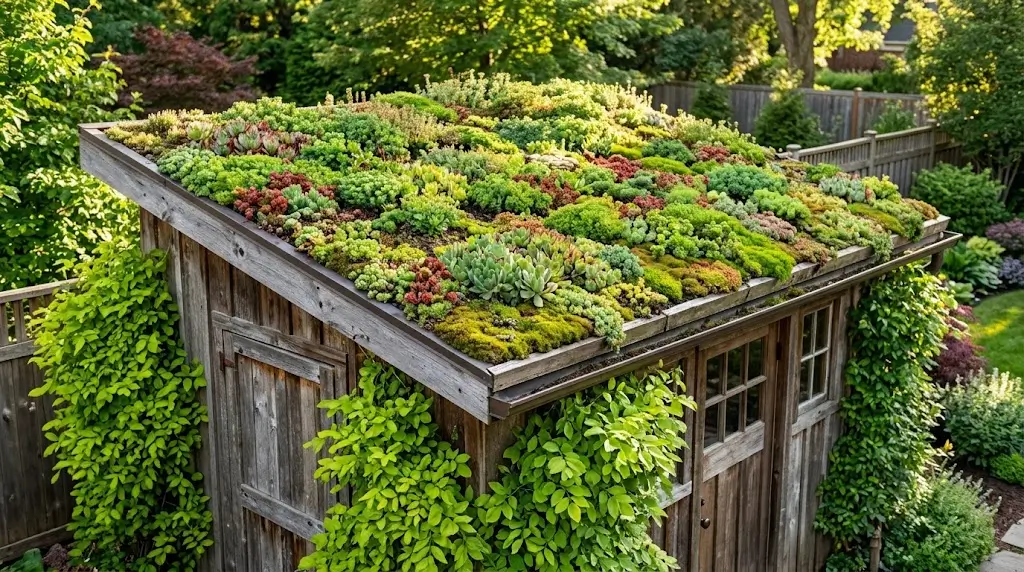
- The Green Roof Design: Reinforce the roof structure and install a living roof. Plant shallow-rooting succulents, mosses, and sedums on top of the building. This provides incredible natural insulation, absorbs rainwater runoff, and creates a micro-habitat for local pollinators.
Placement and Companion Planting Suggestions
Integrating the structure into your landscape ensures it looks like a beautiful garden feature rather than an eyesore.
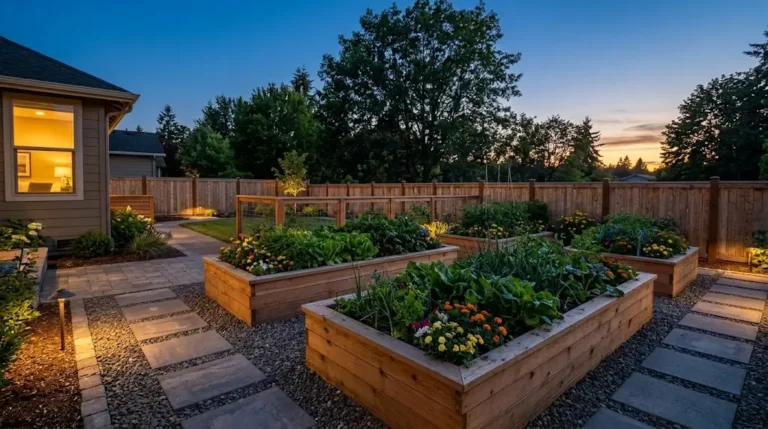
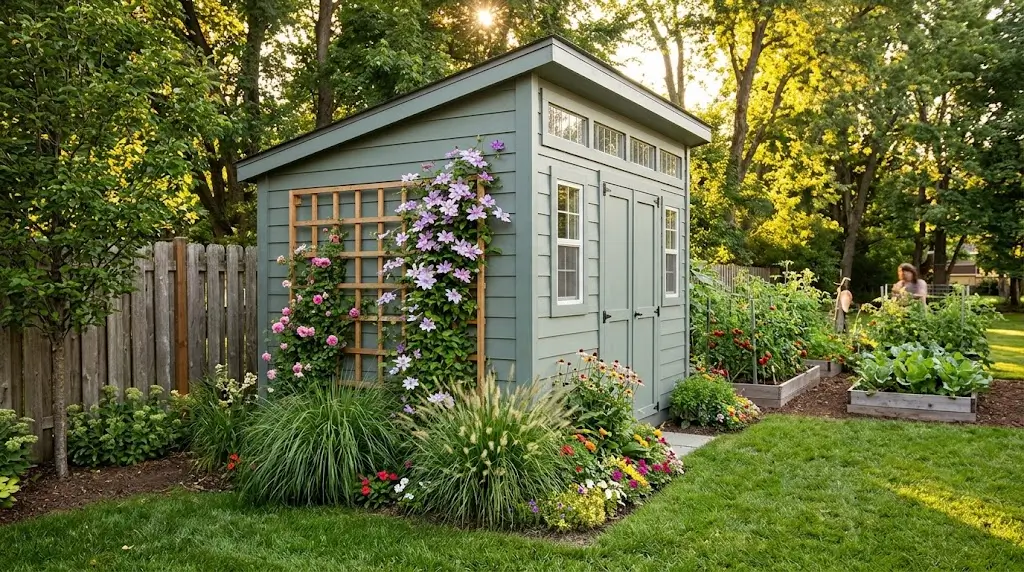
- Optimal Placement: Position the building near the area of your yard where you do the most work (e.g., near your raised vegetable beds) to minimize hauling heavy soil and tools back and forth. Ensure you leave at least 3 feet of clearance around the perimeter for painting and maintenance.
- Companion Landscaping: Soften the hard architectural lines by planting tall ornamental grasses or evergreen shrubs around the foundation. Install a trellis on the side of the building and plant climbing vines like Clematis, Jasmine, or climbing roses. Not only does this look stunning, but the shade from the vines naturally cools the interior of the workspace during the peak summer heat.
Common Mistakes to Avoid
Even experienced DIYers can make errors when planning outdoor structures. Avoid these common pitfalls:
- Skipping the Foundation: Never build directly on bare dirt or grass. Soil shifts, freezes, and thaws, which will warp the entire structure within a single year. Always use gravel, concrete blocks, or a poured concrete pad.
- Ignoring Local Zoning Laws: Before buying a single piece of lumber, check your local municipal codes and Homeowner’s Association (HOA) rules. Many areas require a permit for structures over 100 square feet or mandate that the building must be set back at least 5 feet from the property line.
- Poor Security: Outbuildings are prime targets for thieves because they often house expensive lawnmowers and power tools. Do not rely on a cheap padlock. Upgrade to a smart lock, install motion-sensor security lights, and cover windows with frosted film so people cannot see your tools from the outside.
Maintenance and Long-Term Care Tips
To protect your investment and keep your tech-enabled workspace functioning flawlessly, follow these seasonal maintenance routines:
- Annual Weatherproofing Check: Every fall, inspect the roof for loose shingles and check the exterior caulking around the windows and doors. Re-caulk any cracks to prevent freezing water from expanding and damaging the wood.
- Smart Device Battery Maintenance: If your solar battery bank or smart lock uses lithium-ion batteries, keep an eye on them during extreme winter freezes. Extreme cold can drain batteries rapidly; you may need to bring sensitive electronics indoors if temperatures drop below zero.
- Pest Control: Mice and wasps love taking up residence in quiet outbuildings. Keep the interior swept clean of grass seed (which attracts rodents) and spray peppermint oil or use ultrasonic pest repellers around the baseboards to naturally deter unwanted guests.
Conclusion
Building and upgrading your garden shed is the ultimate way to streamline your yard work and protect your valuable equipment. By focusing on a solid foundation, weather-resistant materials, and modern tech integration, you can create a highly functional outdoor workspace.
Ready to upgrade your backyard organization? Start sketching out your building plans this weekend, share your DIY progress photos in the comments below, and be sure to subscribe for more Smart Gardening & Tech updates!
FAQs
Do I need a building permit for my outdoor storage structure? It depends entirely on your local municipality and the size of the building. In many regions, structures under 100 or 120 square feet do not require a permit as long as they are not wired directly into the municipal electrical grid. Always check with your local zoning office before starting construction.
What is the best foundation for a damp or uneven yard? If your yard holds water or is on a steep slope, a concrete pier and beam foundation is the best option. Digging holes below the frost line and pouring concrete footings keeps the wooden floor elevated well above the damp ground, preventing rot and ensuring a perfectly level base regardless of the terrain.
How can I get Wi-Fi out to my yard for smart tech? The most reliable method is to install an outdoor-rated point-to-point Wi-Fi extender or a mesh network beacon on the exterior wall of your main house, pointing directly at the outbuilding. Alternatively, if you are burying an electrical trench to run power to the building, you can run a direct exterior-grade ethernet cable in the same trench for a flawless, hardwired internet connection.