Grass Seed 7 Best Tips For A Lush Green Lawn
Did you know that properly planting high-quality grass seed can increase your home’s overall property value by up to 15% while simultaneously reducing ambient summer temperatures around your house by several degrees? For many homeowners and smart gardening enthusiasts, cultivating a thick, vibrant lawn feels like an endless battle against bare patches, invasive weeds, and unpredictable weather patterns. However, by combining traditional agronomy with modern smart gardening technology, you can take the guesswork out of turf management. In this comprehensive guide, we will dive deep into the exact techniques, soil preparations, and automated tech setups you need to transform your yard into a lush, resilient, and eco-friendly green oasis.
Quick Answer:
Planting grass seed requires preparing a loose, nutrient-rich soil bed, evenly distributing the correct seed type for your climate, and maintaining consistent moisture during the germination phase. By utilizing smart sprinkler controllers and soil moisture sensors, you can automate the watering process to ensure optimal growth without wasting water.
Materials and Supplies List
Achieving a golf-course-quality lawn starts from the ground up. Before you scatter a single kernel, you need to gather the correct foundational materials to ensure a high germination rate and strong root development:
- Premium Grass Seed: Choose a high-quality blend suited to your specific region. Cool-season grasses (like Kentucky Bluegrass, Fescue, or Perennial Ryegrass) thrive in the North, while warm-season grasses (like Bermuda, Zoysia, or Centipede) dominate the South.
- Nutrient-Rich Topsoil or Compost: You will need a fine layer of screened topsoil or organic mushroom compost to top-dress the area, providing a nutrient-dense bed for the new roots.
- Starter Fertilizer: Look for a blend with a higher middle number in its N-P-K ratio (Phosphorus) to promote rapid root establishment.
- Mulch or Straw: Clean, weed-free straw, peat moss, or biodegradable seed mats are essential to cover the planted area, lock in moisture, and hide your crop from hungry birds.
- Eco-Friendly Substitutions: Instead of synthetic starter fertilizers, consider using an organic seaweed extract or worm castings to naturally boost soil microbiology.
Tools and Equipment Required
You do not need a commercial landscaping crew to establish a beautiful yard. Having the right mechanical and technical tools will make the seeding process efficient and highly precise:
- Broadcast Spreader or Drop Spreader: Essential for ensuring even distribution. A broadcast spreader works best for large, open yards, while a drop spreader offers precision for tight corners and edges.
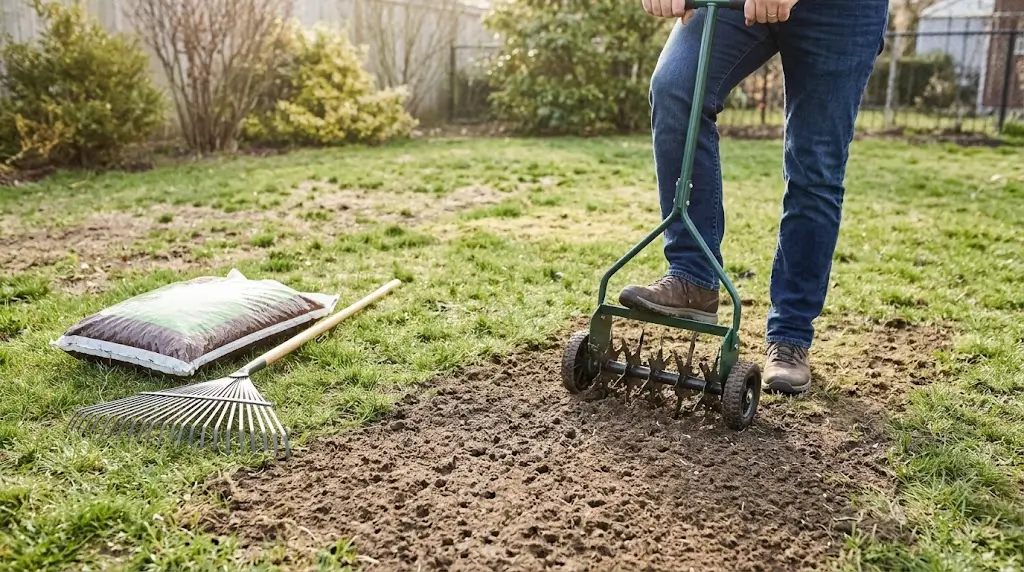
- Steel Bow Rake: Used to clear away dead debris (thatch), break up compacted dirt, and gently work the seed into the top quarter-inch of the soil.
- Lawn Aerator (Manual or Gas-Powered): Critical for alleviating soil compaction before planting, allowing oxygen, water, and nutrients to reach deep into the earth.
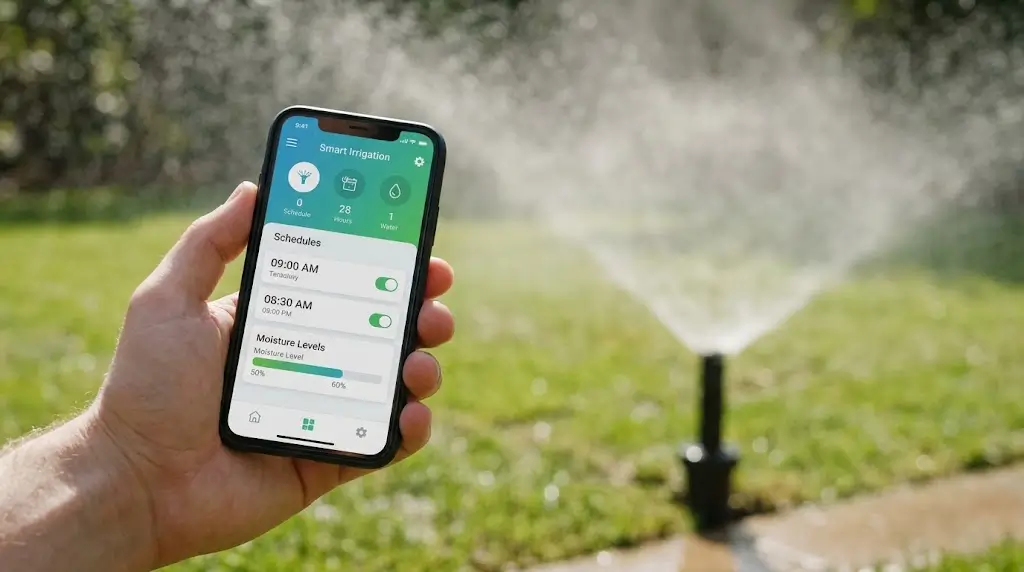
- Smart Sprinkler Controller: A Wi-Fi-enabled irrigation timer (like the Rachio or Orbit B-hyve) that adjusts watering schedules based on real-time, local evapotranspiration (ET) weather data.
- Smart Soil Moisture Monitor: A Bluetooth or Wi-Fi sensor pushed directly into the turf to alert your smartphone exactly when the seedbed is drying out.
Project Time & Growth Timeline
Establishing a new lawn or overseeding an existing one is a project of patience, but the active labor is surprisingly minimal when utilizing smart technology.
- Active Setup Time: 2 to 6 hours, depending on the size of your yard. This includes dethatching, aerating, spreading the product, and configuring your smart watering app.
- Ongoing Maintenance Time: With a smart irrigation system, daily watering chores are reduced to zero. You will only spend about 10 minutes a week monitoring your smartphone app for soil moisture alerts.
- Expected Growth Timeline: Most standard varieties germinate within 7 to 21 days. You will see a light green fuzz initially, which will mature into a mowable lawn within 4 to 6 weeks. Complete root establishment takes a full growing season.
Step-by-Step Guide
1. Test and Prepare the Soil
Before planting, it is crucial to understand your baseline. Use a digital soil pH meter to check your yard’s acidity. Most turf prefers a pH between 6.0 and 7.0. Next, use your steel bow rake to violently scratch the surface of the bare spots, removing dead grass, rocks, and thick thatch. The dirt must be loose; seed that falls onto hard, compacted dirt will simply wash away in the first rainstorm.
2. Aerate and Add Nutrients
If your yard feels like concrete, run a core aerator over the space to pull small plugs of dirt out of the ground. Broadcast your organic compost or starter fertilizer evenly across the prepped area. This creates a highly fertile, oxygen-rich environment for the delicate new roots to dive into.
3. Select and Spread the Grass Seed
Set your broadcast spreader to the manufacturer’s recommended dial setting. Walk at a steady, even pace. To avoid bare streaks, apply half of your product walking north-to-south, and the second half walking east-to-west in a crisscross pattern. This guarantees total, uniform coverage across the entire landscape.
4. Rake and Mulch
Do not bury the kernels! Take the back of your bow rake (the flat side) and gently drag it over the planted area to ensure the seed makes direct contact with the dirt. It should be no deeper than 1/4 inch. Cover the area with a light dusting of peat moss or clean straw to retain essential moisture and block UV rays.
5. Program Your Smart Irrigation
This is where technology saves your harvest. Set your smart sprinkler controller to a “New Seed” schedule. The goal is to keep the top inch of dirt constantly moist, but never soggy or pooling. Usually, this means programming the sprinklers to run for 3 to 5 minutes, three to four times a day, until germination occurs.
Plant Requirements & Technical Specs
To guarantee a lush, green carpet, you must strictly adhere to the specific environmental and technical demands of your chosen turf variety:
- Sunlight Needs: Most standard blends require full sun, meaning 6 to 8 hours of direct light daily. If your yard is heavily shaded by large oak trees, you must purchase a shade-tolerant Fescue blend.
- Watering Requirements: During germination (Days 1-21), require light, frequent misting. Once mature, switch your smart controller to deep, infrequent watering (1 to 1.5 inches of water per week) to encourage deep, drought-resistant roots.
- Hardiness Zones: Always check your USDA hardiness zone. Planting a warm-season Bermuda grass in a cold Northern zone will result in winter kill.
- Device Connectivity: Your smart sprinkler hub must have a strong 2.4GHz Wi-Fi connection to pull reliable weather forecasting data. Ensure your router’s signal reaches the garage or exterior wall where the controller is mounted.
Alternative Methods & Eco-Friendly Options
If a traditional, water-heavy monoculture lawn does not align with your environmental values, there are numerous sustainable and tech-forward alternatives to explore:
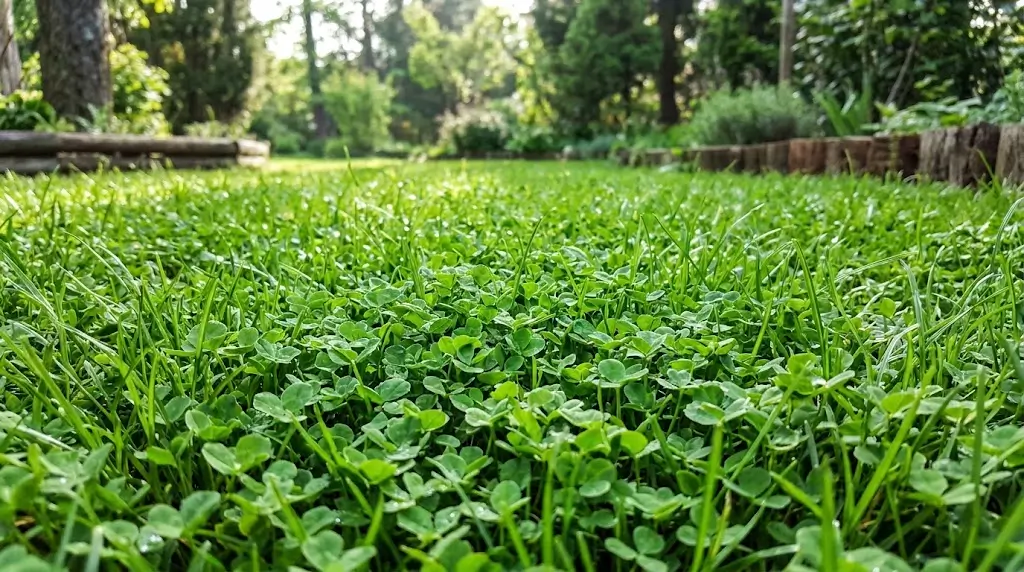
- Microclover Lawns: Mixing white microclover into your spreader is a brilliant eco-hack. Clover is a nitrogen-fixer, meaning it naturally pulls nitrogen from the air and feeds it into the soil, completely eliminating the need for synthetic chemical fertilizers.
- Drought-Tolerant Native Groundcovers: For arid climates, ditch traditional turf altogether. Opt for native creeping thymes, sedums, or Kurapia, which require 60% less water and almost zero mowing.
- Solar-Powered Smart Sprinklers: If you have an off-grid cabin or a massive property, utilize solar-powered smart irrigation valves that run on Bluetooth, negating the need to bury hundreds of feet of electrical wire.
Placement and Companion Planting Suggestions
A beautiful landscape relies on more than just a flat green square; it involves integrating your lawn seamlessly into the surrounding garden ecosystem.
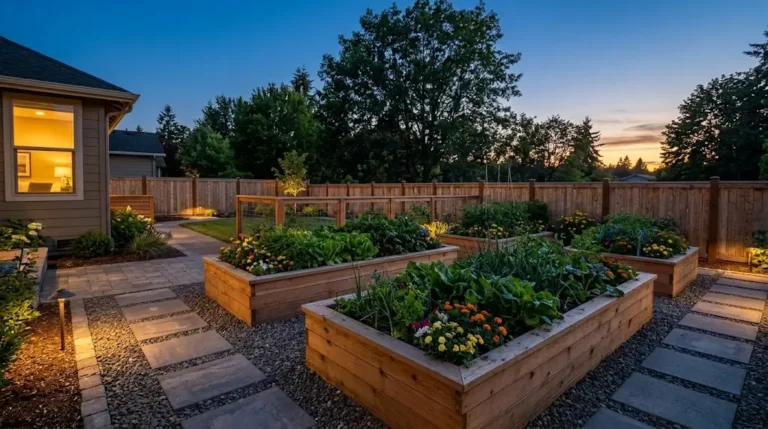
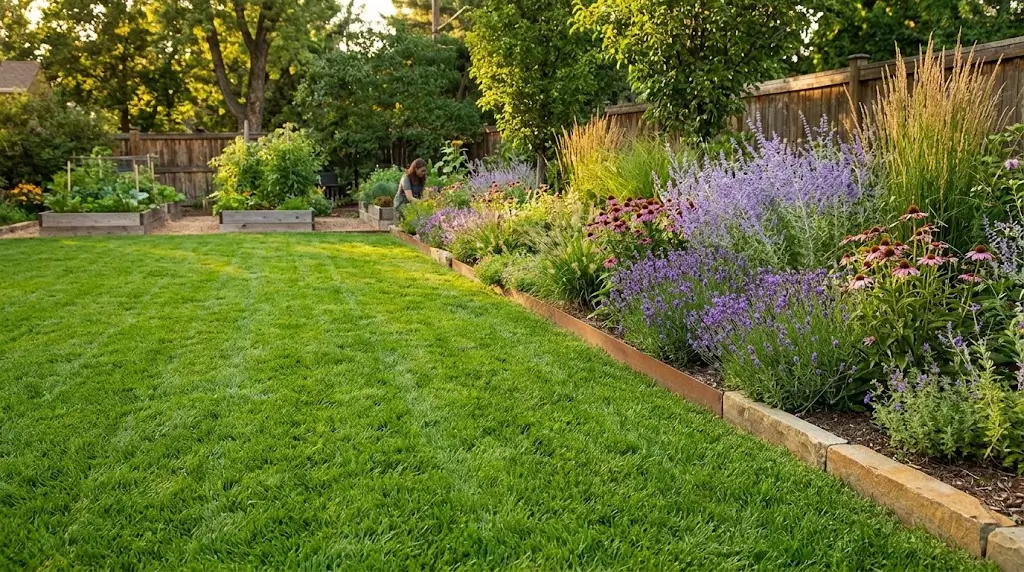
- Strategic Edging: Use Corten steel or natural stone edging to create a distinct, clean boundary between your newly seeded lawn and your raised vegetable garden beds. This prevents invasive turf rhizomes from creeping into your tomatoes and choking them out.
- Companion Landscaping: Plant deep-rooted, pollinator-friendly perennials like Lavender, Coneflowers, or Russian Sage around the perimeter of your lawn. These companions attract beneficial insects that prey on turf-destroying pests like grubs and chinch bugs, creating a naturally balanced, chemical-free ecosystem.
Common Mistakes to Avoid
Even seasoned homeowners ruin perfectly good product by making a few highly preventable errors during the planting phase:
- Planting at the Wrong Time: Sowing cool-season varieties in the dead of a scorching July summer guarantees failure. The best time to plant in the North is early fall (September), when the soil is warm but the air is cool. Southern varieties should be planted in late spring.
- Applying Weed Killer Too Soon: Never apply pre-emergent herbicides or traditional “weed and feed” products at the same time as new seed. These chemicals block all germination. Wait until you have mowed the new grass at least four times before applying any weed control.
- Ignoring Soil Contact: Throwing seed onto hard, unprepared dirt and hoping for the best is a waste of money. Seed must have direct, firm contact with loosened soil to sprout.
Maintenance and Long-Term Care Tips
Once your new lawn is established, shifting your focus to long-term preventative maintenance will keep it looking like a professional sports field year after year:
- Mowing Heights: Set your lawnmower blade high. Cutting grass too short (scalping) stresses the plant, shallowing the root system and inviting weed seeds to germinate. Aim to keep your lawn around 3 to 4 inches tall.
- Seasonal Aeration: Once a year in the fall, rent a core aerator. Punching holes in the turf prevents thatch buildup and ensures your smart sprinkler’s water penetrates deeply into the root zone.
- Smart Tech Winterization: Before the first hard freeze, you must blow out your irrigation lines with an air compressor to prevent cracked pipes. Additionally, unplug your smart controller or switch the app to “Standby/Winter Mode” to ensure it doesn’t accidentally trigger a frozen watering cycle.
Conclusion
Successfully growing grass seed is a highly rewarding endeavor that bridges the gap between hands-on horticulture and modern smart technology. By carefully preparing your soil, selecting the right blend, and automating your irrigation, you can achieve a flawless, vibrant lawn with minimal stress.
Ready to transform your patchy yard into a neighborhood showpiece? Grab your spreader, fire up your smart sprinkler app, and get planting! Share your before-and-after lawn photos in the comments below, and subscribe to our newsletter for more weekly Smart Gardening & Tech updates.
FAQs
When is the absolute best time to plant a new lawn?
For cool-season grasses (fescue, bluegrass, ryegrass), the optimal time is early autumn. The soil is still warm enough for rapid germination, but the cooler air temperatures and increased rainfall reduce heat stress. For warm-season grasses (bermuda, zoysia), late spring to early summer is ideal when the threat of frost has completely passed.
Will birds eat all the seed I just put down?
Birds can certainly be a nuisance, but they rarely eat enough to ruin an entire lawn renovation. To drastically reduce seed loss, lightly rake the product into the top 1/4 inch of soil and cover the area with a thin layer of peat moss or weed-free straw. This camouflages the kernels and makes it too difficult for birds to forage effectively.
How soon can I mow after planting?
Patience is key. You should wait until the new blades are at least 3.5 to 4 inches tall before running a lawnmower over the area. Ensure your mower blades are freshly sharpened; a dull blade will rip the fragile, shallow roots entirely out of the soil instead of cleanly cutting the top of the grass blade.